

Key Takeaways
Why Your Space Setup Matters More Than Its Size
The most common reason people abandon home workouts isn't motivation — it's friction. When your workout space requires 15 minutes of clearing furniture before you can start, it becomes easy to skip. A well-configured space, even a small one, removes that barrier entirely.
Research on habit formation consistently shows that reducing the effort required to begin a behaviour increases how reliably it's performed. Designing your space with that principle in mind is just as important as choosing the right exercises. As part of a complete home fitness approach, your environment is a tool — and it's worth treating it like one.
The steps below work whether you have a spare bedroom, a corner of your living room, or a patch of hallway. The goal is a space that's safe, functional, and ready to use with minimal setup time.
What you will need
How to Set Up Your Home Workout Space
Follow these steps in order. You can complete the initial setup in under an hour, and many steps take just a few minutes.
Measure Your Available Floor Space
Use a tape measure or count pacing steps to establish the usable dimensions of your space. A minimum of 6 feet × 6 feet supports most mat-based exercises, bodyweight movements, and resistance band work. A 10×10-foot area opens up jumping, lateral movement, and light dumbbell training.
Mark or mentally note the boundaries. If the space is shared with furniture, identify which pieces can be pushed aside quickly before a session.
Check Overhead Clearance
Stand in the space and reach both arms directly overhead. You should have at least 6–8 inches of clearance above your fingertips for safe overhead pressing, jumping jacks, or jump rope. Low ceilings are the most underestimated hazard in home workout spaces.
Check for ceiling fans, light fixtures, or shelving. If overhead clearance is limited, plan your routine around exercises that stay at shoulder height or below.
Assess and Protect Your Flooring
Identify your floor surface. Hardwood and tile are slippery and unforgiving on joints without cushioning. Carpet provides some grip but can interfere with certain movements and may bunch under equipment.
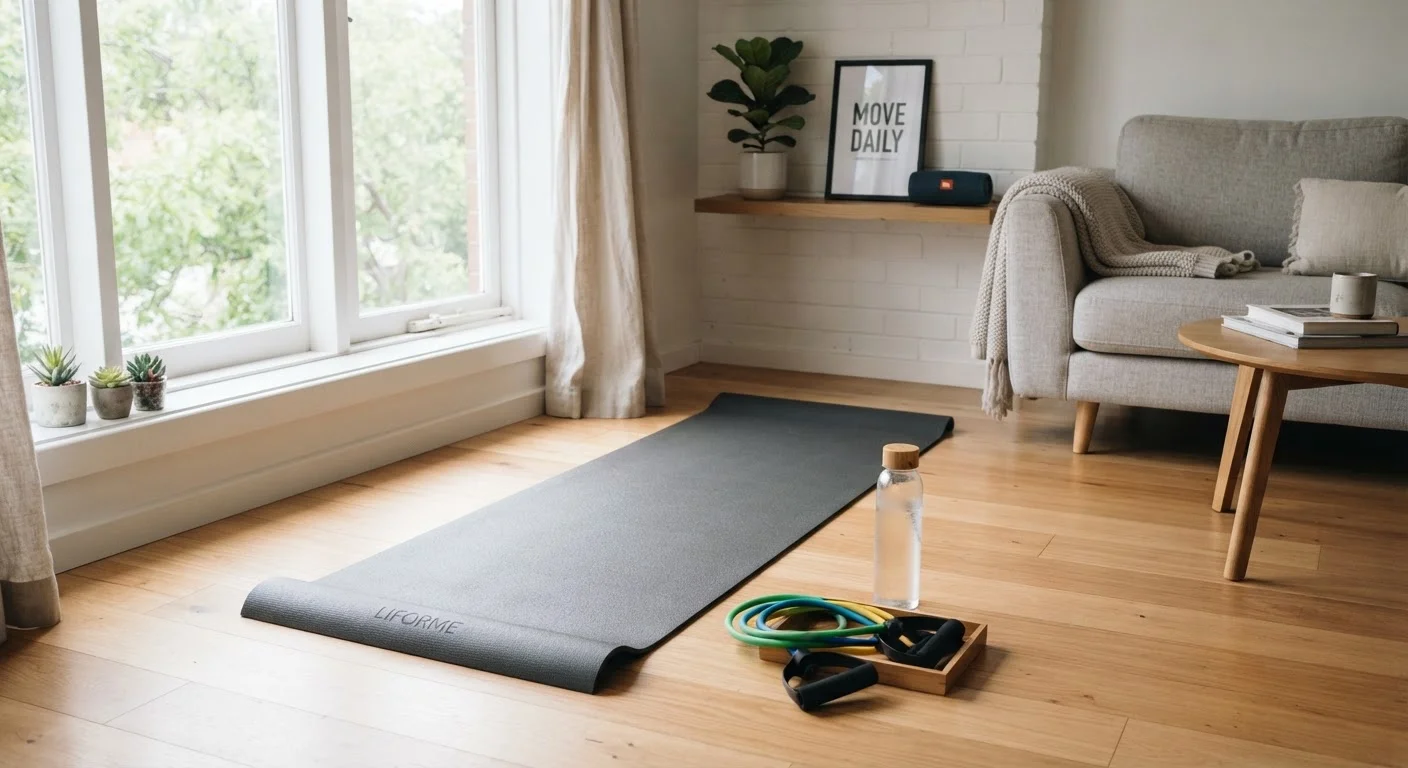
- Hard floors: Use an exercise mat or interlocking foam tiles (typically 12"×12" or 24"×24" squares) for cushioning and grip.
- Carpet: A thin exercise mat is usually sufficient; avoid thick foam which can destabilize balance exercises.
For equipment like dumbbells or a kettlebell, consider a rubber mat underneath to protect the floor and reduce noise.
Eliminate Hazards and Create Clear Boundaries
Walk through the space and remove or secure anything that could be tripped over, knocked into, or fallen on during movement. Pay specific attention to:
- Furniture with sharp corners at knee or hip height
- Loose rugs or cords crossing the movement area
- Fragile objects on nearby shelves within arm's reach
- Pets or children who may enter the space during training
If the space is shared, consider a simple visual cue — a mat laid out, or a specific piece of furniture moved — that signals an active workout zone to others in the home.
Set Up for Consistency, Not Perfection
The best home workout space is the one you'll actually use repeatedly. Prioritize making it as ready as possible before each session, rather than waiting until conditions are perfect.
If you can leave a mat down permanently, do so. Store any compact equipment in a visible, accessible spot — not in a closet that requires unpacking. The fewer decisions and physical steps required to start, the more reliably you'll follow through.
Once your space is ready, use this readiness checklist to confirm everything is in place before beginning a new routine. If you're returning to exercise after a long break, getting started after being sedentary offers practical guidance on pacing yourself safely.
Choosing Equipment That Works in Tight Spaces
You don't need much, but choosing the right tools makes a small space significantly more versatile.
Exercise or yoga mat
Provides cushioning, grip, and a defined movement boundary on any floor surface.
Resistance bands (set of varying tensions)
Replicate cable machine and free weight exercises in a compact, lightweight form.
A pair of adjustable or fixed dumbbells
Add progressive resistance to upper and lower body exercises without requiring a full rack.
Foam roller
Supports mobility work and post-exercise muscle recovery in minimal floor space.
Interlocking foam floor tiles
Create a padded, grip-friendly surface on hard floors and protect flooring from equipment.
Pull-up bar (doorframe-mounted)
Adds upper body pulling exercises without permanent installation or floor space use.
Avoid purchasing bulky equipment — cable machines, full power racks, large benches — unless you have confirmed floor space and structural clearance. Most strength and conditioning goals can be effectively addressed with the compact options listed above. For more on what home training can realistically achieve, see how home workouts build real fitness.
This article provides general fitness information and is not a substitute for advice from a qualified health or exercise professional. If you have an existing health condition or injury, consult a healthcare provider before setting up a new exercise routine. For condition-specific guidance, see training at home with a chronic condition.